


In 2024, U.S. customers sent back $890 billion worth of merchandise. The return itself is a cost of doing business. The confusion around it (the missing label, the printer nobody has, and the support ticket asking how to start a return) is a cost you can actually address.
A QR Code on a packing slip, inside a shipping box, or in a return confirmation email replaces the entire printed-label process with a two-second scan. Customers get a frictionless return, your team stops answering the same four questions every Monday morning, and you don’t need a logistics department or a developer to set it up.
In this article, you will learn how QR Codes simplify returns, from the customer’s first scan to the moment you process the package on your end.
Table of contents
- Where most e-commerce return workflows fall apart
- How QR Codes for e-commerce returns work
- How e-commerce brands use QR Codes for returns
- How to create QR Codes for e-commerce return workflows
- Best practices for using QR Codes in e-commerce returns
- Make every return easier with QR Codes
- Frequently asked questions
Where most e-commerce return workflows fall apart
Returns are expensive enough on their own. Processing a single return costs between 20% and 65% of the item’s original value when you factor in shipping, inspection, restocking, and labor. The last thing you need is your return workflow making things worse. Most of the time, it does.
For small teams, this problem is sharper. You don’t have a dedicated customer service department to absorb the extra tickets or a warehouse team to untangle a messy intake process. Every gap in your return workflow lands directly on whoever is running the business that day.
Customers can’t print the return label
Some return workflows still require customers to download and print a label. A significant portion of households no longer own a printer. Those customers either delay the return, hunt for a print shop, or contact support. Your team is now handling a problem that should have been solved before the package even arrived.
Manual return authorization slows down the entire chain
Without a digital return process tied to a return merchandise authorization (RMA) system, packages arrive with almost no context. You manually identify the item, match it to an order, confirm the return reason, and then begin processing. It’s the kind of task that looks simple until you’re doing it for the tenth time the same day.
Customers can’t find the return instructions
Return instructions are usually buried in a confirmation email from two weeks ago, linked from a policy page nobody bookmarked, or printed on a slip that’s already in the recycling bin. When customers can’t find instructions, they don’t return items correctly, or they contact support. Either way, it costs you.
Returns generate a disproportionate share of support tickets
A single return can generate three or four support interactions:
- “How do I start a return?”
- “Did you receive it?”
- “When will I get my refund?”
- “I sent it back, but nothing happened.”
None of those questions are complicated. They’re all signs that the process didn’t deliver what the customer needed, when they needed it. Every one of those tickets costs your team time, and during peak seasons, when return volumes spike, they stack up fast enough to overwhelm support queues that were never built to handle them.
E-commerce QR Codes help solve returns issues for brands by connecting physical packages to digital return workflows. One scan can take a customer directly to return instructions, generate a return label, or confirm return authorization. All this without requiring prints, phone calls, or support conversations.
How QR Codes for e-commerce returns work
There are two common ways brands use QR Codes in returns, depending on how their process is set up.
- Carrier-generated QR Codes for label-free drop-offs: Some carriers and e-commerce platforms generate QR Codes automatically after a customer starts a return. The customer shows the code at a participating drop-off location, the staff scan it, print the label, and accept the package. This is common with UPS, FedEx, and USPS Label Broker.
- Brand-generated QR Codes that guide the return process: Brands can also create their own QR Codes with The QR Code Generator (TQRCG) and place them on packaging inserts, packing slips, emails, or account pages. These codes can link customers to return request forms, return instructions, exchange portals, refund tracking pages, and support contact pages.
How e-commerce brands use QR Codes for returns
Let’s look at the most practical applications for brand-generated and carrier-generated QR Codes.
QR Codes on return labels for paperless returns
The most direct application of brand-generated QR Codes: replace the printed return label entirely. Instead of asking customers to download, print, and attach a label, generate a QR Code tied to the return request and send it digitally.
You can also use carriers that support QR Code-based label printing, including UPS, FedEx, and USPS via Label Broker. The customer brings the package, shows the code, and the carrier handles the label. You don’t need to pre-print labels, include them in every shipment, or worry about what happens when a customer loses theirs.
QR Codes on packaging inserts to start a return request
Place your generated QR Code inside the shipping box or on the packing slip that links directly to your return request form or return portal. The customer scans it when they decide to return the item. No need to dig through old emails or navigate to your website.
On Shopify, this is as simple as generating a QR Code that links to your native return request page and printing it on your packing slips. The return path is in the box at the moment the customer needs it, and your inbox gets noticeably quieter.
QR Codes for contactless return drop-offs
Carrier locations increasingly support QR Code-based contactless returns. The customer shows up with the item and a QR Code, the staff member scans it, and the return is logged and accepted. All this without paperwork, printing, or back-and-forth.
This means fewer errors on intake, since every scan ties back to a specific, pre-authorized return request. You know what’s coming back and why, before it arrives.
QR Codes for return tracking and refund updates
QR Codes can also link customers to a page that shows the status of their return and refund in real time. When customers can check the status themselves with a scan, they stop sending “where is my refund?” emails. You’re not building a customer service layer. You’re removing the reason customers needed to contact you in the first place.
QR Codes as a sustainability signal
Pre-printed return labels generate paper waste, especially when customers don’t use them. QR Code-based returns eliminate that entirely. Labels are printed only when a return actually occurs, at the carrier location, not in your fulfillment process.
Large brands like Patagonia have used QR Codes to significantly reduce their packaging footprint, cutting the number of unique hang tags from 20 designs to 2. The logic scales down just as cleanly. If your brand’s packaging already leans toward sustainability, switching to QR Code-based returns is a natural next step that costs nothing extra to communicate to customers.
How to create QR Codes for e-commerce return workflows
You don’t need a developer. You need clarity on what the QR Code should do and the right tool to build it.
Step 1: Define what the QR Code needs to do
Before creating anything, decide what the QR Code needs to accomplish. This determines the type you create and where you place it.
Common goals for e-commerce return QR Codes:
- Link customers to a return request form or portal
- Share return instructions as a simple page or downloadable PDF
- Trigger a pre-filled email to your inbox so you can process the return manually
Each goal maps to a different QR Code type. Get this right before you start.
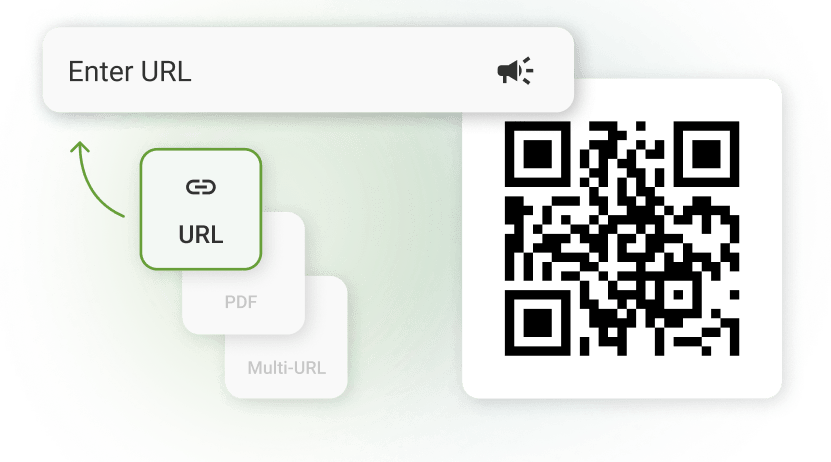
Step 2: Choose the right QR Code type
Head to The QR Code Generator (TQRCG) and select the type of QR Code that matches your goal.
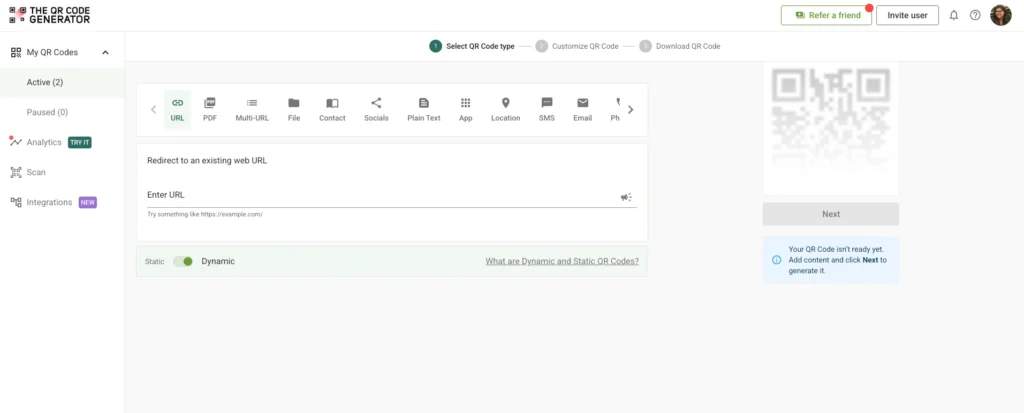
For e-commerce return workflows, the most relevant options are:
- URL QR Code: Links directly to your return portal, return request form, or tracking page. This is the right starting point for most brands.
- PDF QR Code: Links to a downloadable return instructions document. Useful if your return policy is detailed and you want customers to have something clear to reference.
- Email QR Code: Opens the customer’s email app with your support address pre-filled. A practical option if you’re handling return requests manually and want a low-friction way for customers to reach you.
For most e-commerce brands, a URL QR Code is the right call. It’s flexible, easy to update, and works across every placement: packaging inserts, packing slips, return emails, and confirmation pages.
Also, choose dynamic QR Codes. A static QR Code locks the destination permanently. If your return portal URL changes or you switch platforms, every piece of packaging carrying that code becomes a dead end. A dynamic QR Code lets you update the destination at any time without changing or reprinting the code itself. The QR Code Generator offers two free dynamic QR Codes, with no credit card required.
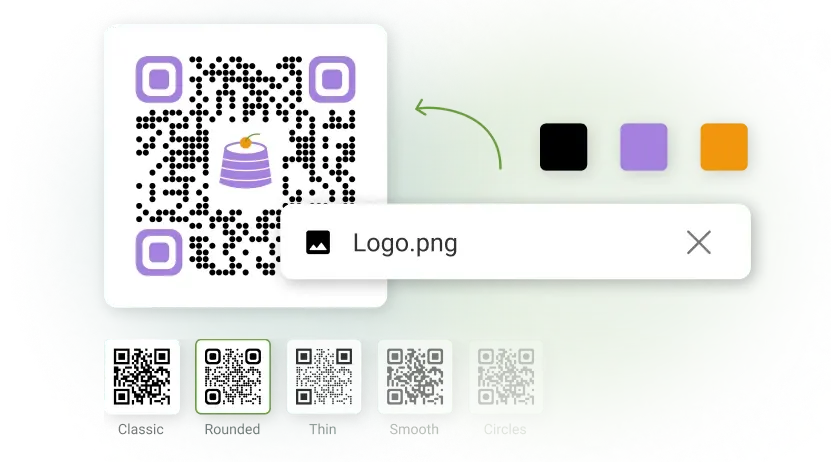
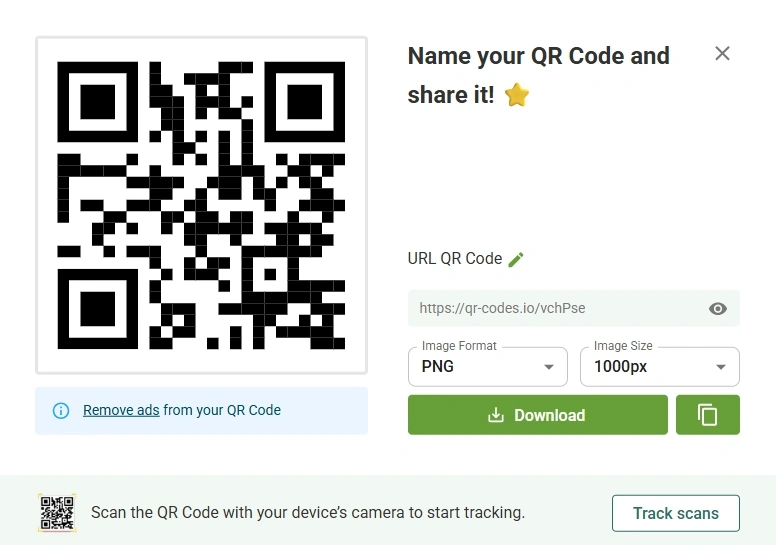
Step 3: Customize the QR Code for your brand
The QR Code Generator (TQRCG) lets you adjust color, pattern, and style, and add your brand logo to the center. A branded QR Code looks intentional. A plain black-and-white square with no context is easy for customers to ignore or distrust.
Download in PNG for digital use or SVG for print.
Step 4: Place it where customers need it and add a clear CTA
Placement and context determine whether anyone scans it. A QR Code with no explanation gets ignored. Customers need to know what they’re scanning and what they’ll get.
Effective CTAs next to your QR Code:
- “Scan to start your return”
- “Scan for return instructions”
- “Scan to generate your return label”
One short line. That’s all it takes.
Best practices for using QR Codes in e-commerce returns
Setting up a QR Code is easy. Getting it to work reliably for every customer takes a little more thought.
Design and placement
- Size it for the surface. For packaging inserts and packing slips, the minimum recommended size is 1 × 1 inch. Anything smaller risks scan failures on textured or slightly uneven surfaces.
- Put it where people open the package, not where it might get damaged. The inside flap of the shipping box or the top of the packing slip are reliable locations. Avoid the outside of the box. Codes placed there can be damaged in transit before the customer even sees them.
- Test before you print. Test on both iOS and Android under different lighting conditions and at the actual print size. What scans cleanly on your phone in good light may not scan on a worn packing slip under a kitchen overhead. Don’t find this out from a customer complaint.
Content and destination
- Link to a mobile-first return page. Customers are scanning at home, on their phones. A return portal that isn’t optimized for mobile creates more friction than it removes.
- Make the landing page do one thing. The page that loads after the scan should have one clear next step. Customers who land on a dense returns policy page will bounce and email support instead. Keep the post-scan page clean, specific, and actionable.
- Audit your QR Code destinations regularly. A broken link at the return moment creates a frustrated customer and a return that doesn’t get processed correctly. Check QR Code destinations after platform migrations, URL changes, or any updates to your returns process.
Integration with return workflows
- Connect each QR Code to a specific return request. This is what allows you to identify the order, confirm it’s authorized, and process it accurately when it arrives, with no manual matching required. Most return apps and Shopify’s native return flow handle this automatically.
- Make sure your QR Code return data goes somewhere useful. If the scan data sits in a separate tool that nobody checks, you’ve added complexity instead of removing it. Keep your return workflow in one place.
- Watch out for the expiry gap. Some QR Code return systems generate codes with limited validity windows. Amazon’s expires after 14 days. If your system does the same, communicate the expiry clearly in the return confirmation. Customers who discover an expired code at the carrier counter are not having a good day.
Common pitfalls
- Don’t link QR Codes to outdated pages. This is the most common and most fixable mistake. Use dynamic codes so you can update the destination without reprinting anything.
- Don’t use static codes on bulk-printed packaging. Static codes are permanent. Dynamic codes are not. Use dynamic.
- Don’t assume the drop-off location supports your QR Code. Carrier QR Code return programs have specific requirements. A QR Code generated for USPS Label Broker doesn’t work at a FedEx drop-off. Be explicit with customers about which carrier your code works with, and list accepted locations in the confirmation.
- Don’t test only on your phone. If you use a tablet or handheld scanner to process returns, test it on that device as well. Scanning behavior varies more than you’d expect.
Make every return easier with QR Codes
Returns don’t have to be the part of the business that eats your afternoon. A QR Code on your packaging, packing slip, or return label connects the customer directly to the process and connects the return directly to your records, without you being in the middle of every step.
With the right placement, a clear CTA, and a dynamic QR Code that updates as your workflow evolves, returns become faster for customers and easier for your team to manage. All without the requirement of extra headcount, reprinted packaging, or custom builds.
Ready to simplify your e-commerce return process? Sign up, and create your first QR Code with The QR Code Generator.
Frequently asked questions
QR Codes for e-commerce returns allow customers to start or complete a return by scanning a code that links to a return portal, return label, or return instructions page. Instead of searching through emails or navigating a website, customers get to the right place with one scan.
The customer shows the QR Code on their phone at a carrier drop-off location. The staff member scans it and prints the shipping label automatically at the counter. No printer, no downloaded file, no prep work required on the customer’s end.
Yes. QR Codes link each return to a specific return request record, allowing you to verify it quickly when it arrives. Faster verification means faster refund processing, with less back-and-forth for your team.
Yes, and it’s one of the highest-leverage changes you can make. You can add QR Codes to packaging inserts, packing slips, or return confirmation emails without any custom development. Shopify merchants can link the code directly to their native return request page.
The most effective placements are inside the shipping box, on the packing slip, and in the return confirmation email. These are the moments when customers need return information most. Placing the QR Code there removes the need to search for it.
A static QR Code permanently encodes a single URL. If that URL ever changes, the code breaks, and customers hit a dead end. A dynamic QR Code stores a redirect you can update at any time from your dashboard, so you can change your return portal, swap platforms, or update instructions without reprinting a single packing slip. The QR Code Generator offers two free dynamic QR Codes to get started, no credit card required.
Some return systems generate QR Codes with limited validity windows. If a customer’s code expires, they typically need to cancel the return request and reinitiate it to receive a new code. Clearly communicate the expiry window in the return confirmation email so customers know what to do if it occurs. This is also where you can use TQRCG’s dynamic QR Codes, so that there is no time limit to your QR Codes.